Task // To document the process of cleaning up images that can be used in a future portfolio.
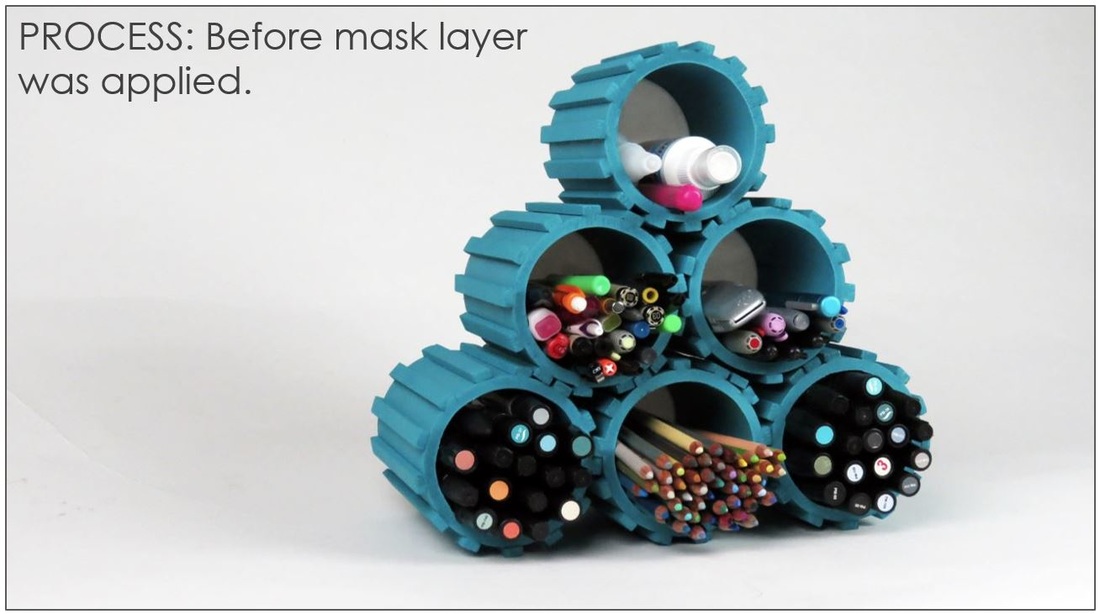
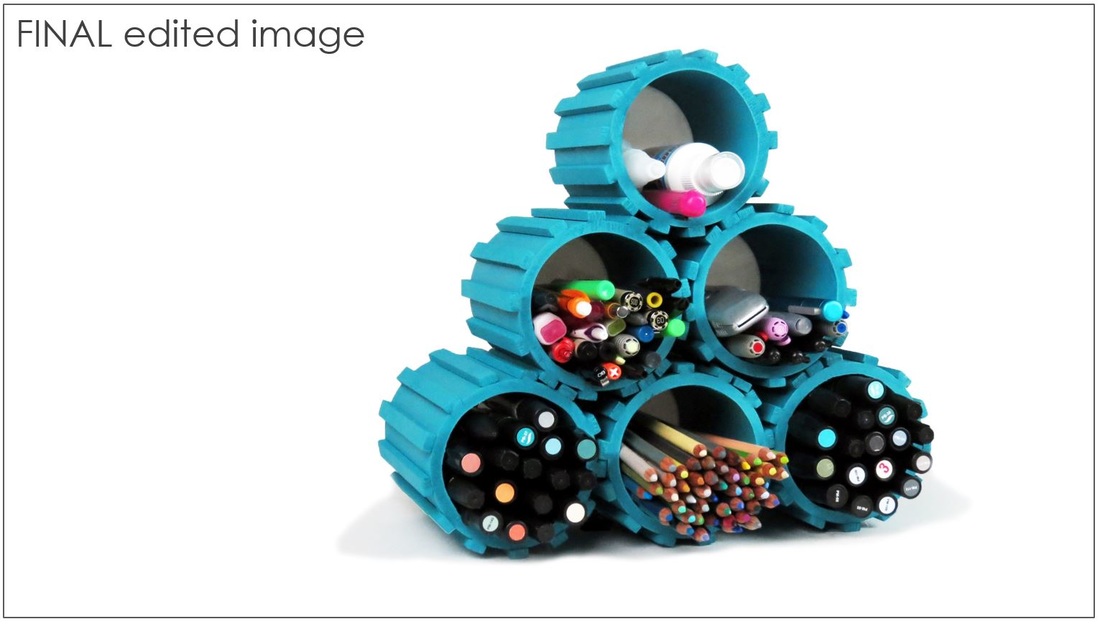
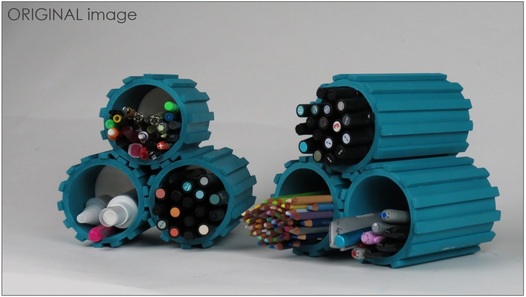 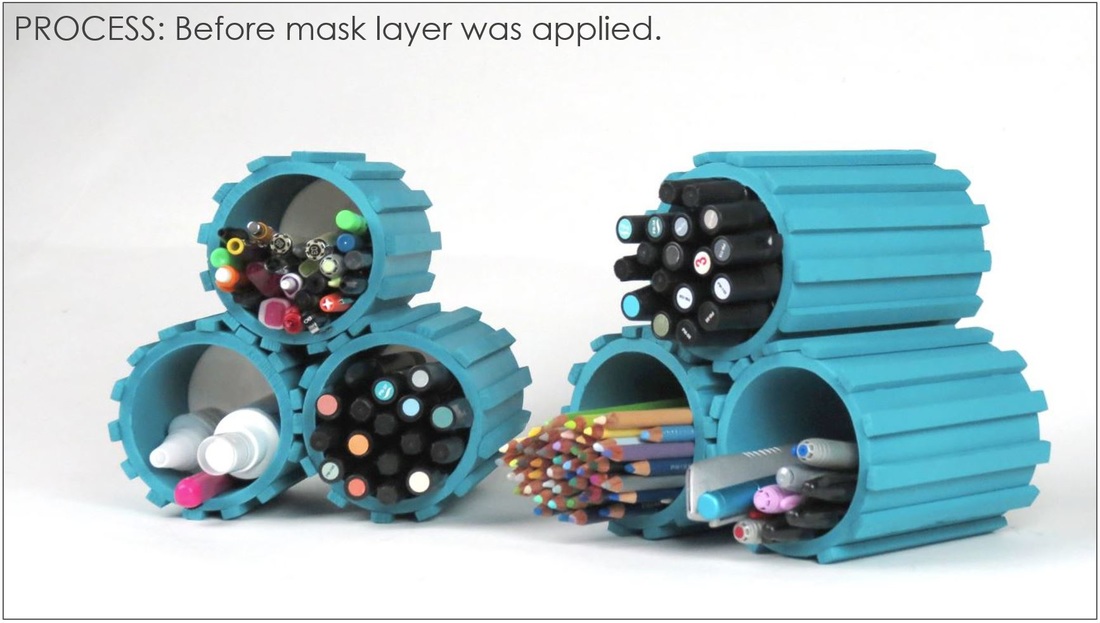 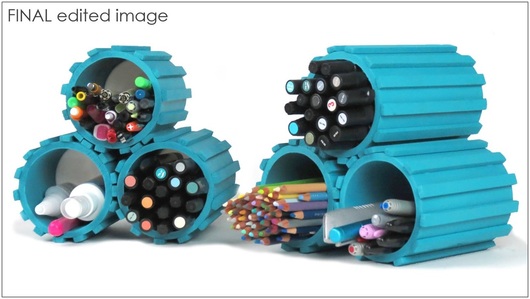 | My focus when editing this image was to brighten up the background and the overall image. I started by making quick adjustments to the image with tools like Brightness/Contrast, Levels, and Hue/Saturation. To go even further, I utilized the Mask Layer tool to make sure the background was evenly toned. This was done with the Quick Selection tool because you have more control over what is and isn’t selected. The Brush tool was used to create the mask and make the background pure white. After this tool was applied, the edges around the shadows were really hard even though I had used a softer brush. To fix this, I used the Mixer Brush to blend the edges together to give them a softer touch. To take it even further, I used the Spot Healing Brush tool to get rid of a few logos as well as some writing on a few of the utensils and scratch marks on the paint job. The order in which these tools were used was important to the overall outcome. The bigger adjustments needed to be made first in order to shed light on the smaller flaws in the image. The Mixer brush and Spot Healing Brush tools were subsequently used to put the finishing touches on the image. One of the problems I kept running into when editing this image was selecting the area that I wanted to be brightened up. While the Quick Selection toll did allow for more control, it was still difficult to create clean lines like you get when using the Magic Wand tool. |
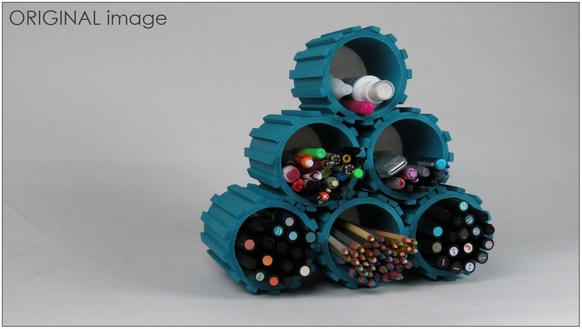
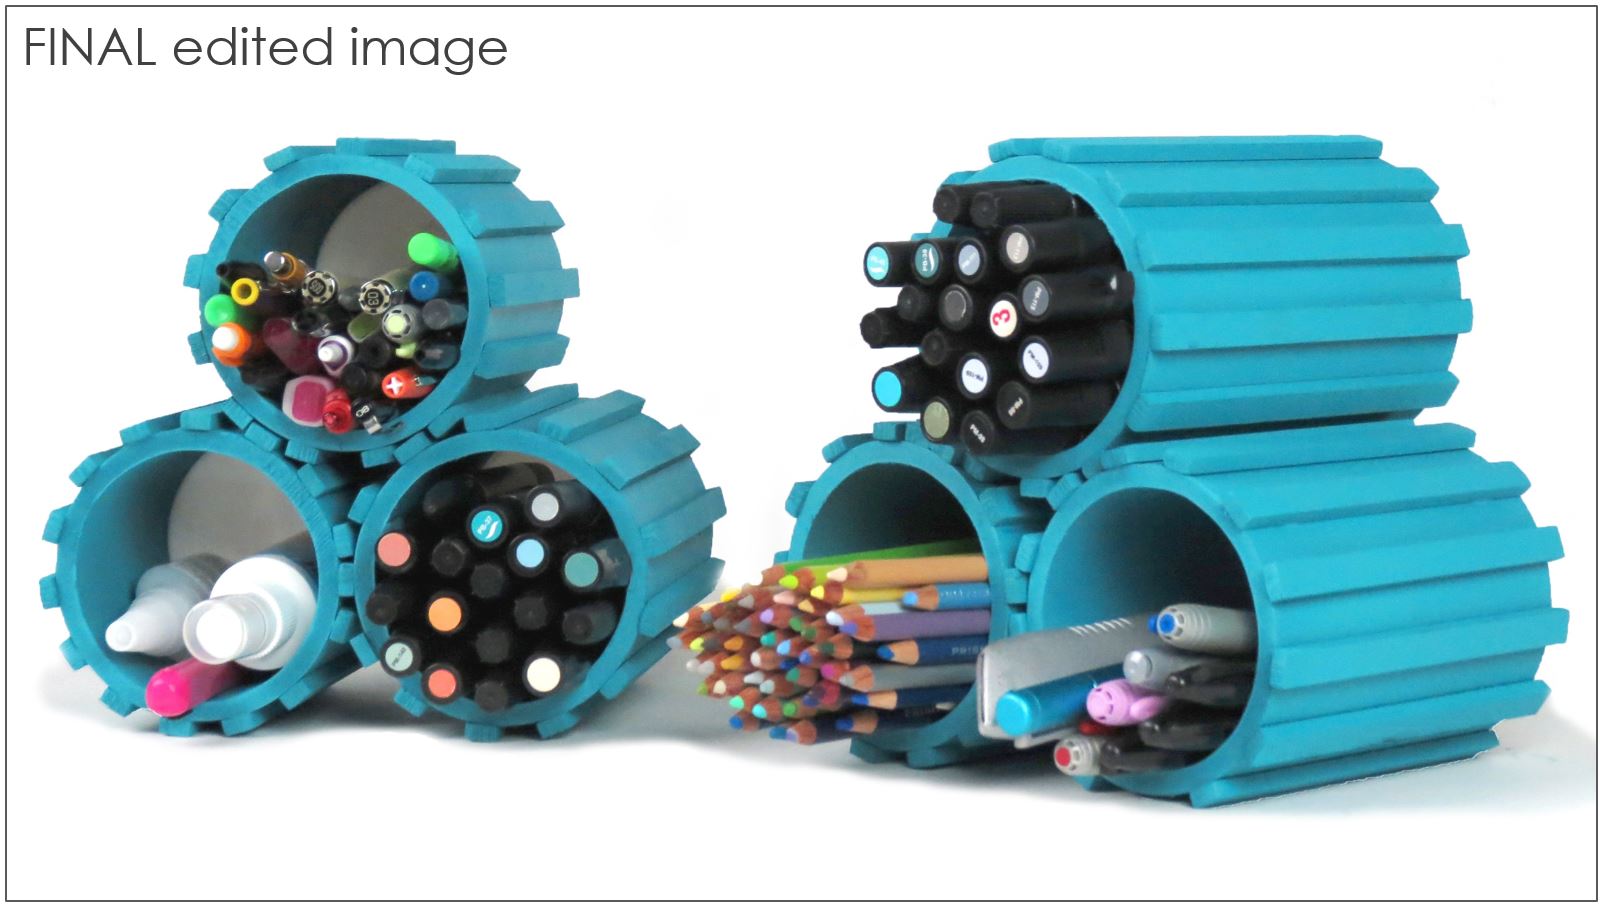
| My strategy for cleaning up this image was almost identical to the previous one because while they are different images, they are of the same object. One of the main differences between this image and the the other is that it shows more detail in how the model was crafted. This allowed for the perfect opportunity to utilize Spot Healing Brush tool to efficiently and effectively cover up the seams between the wood pieces, that represent gear cogs, and the PVC pipe. The order in which the tools were applied played an important role in how the shadows cast by the model were preserved so it didn't look like it was floating in space. One of the main problems I ran into while editing this image was the contrast. I really wanted to lighten the image without it effecting the shadows that are made on the interior of the model. I think I accomplished this by saturating the image a little bit more than I had in the previous image. Time Log: Photoshop // 4 hrs.
|    | ||||
